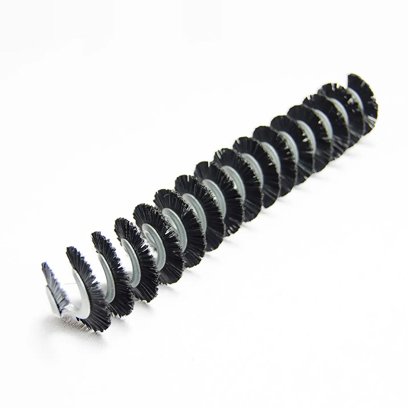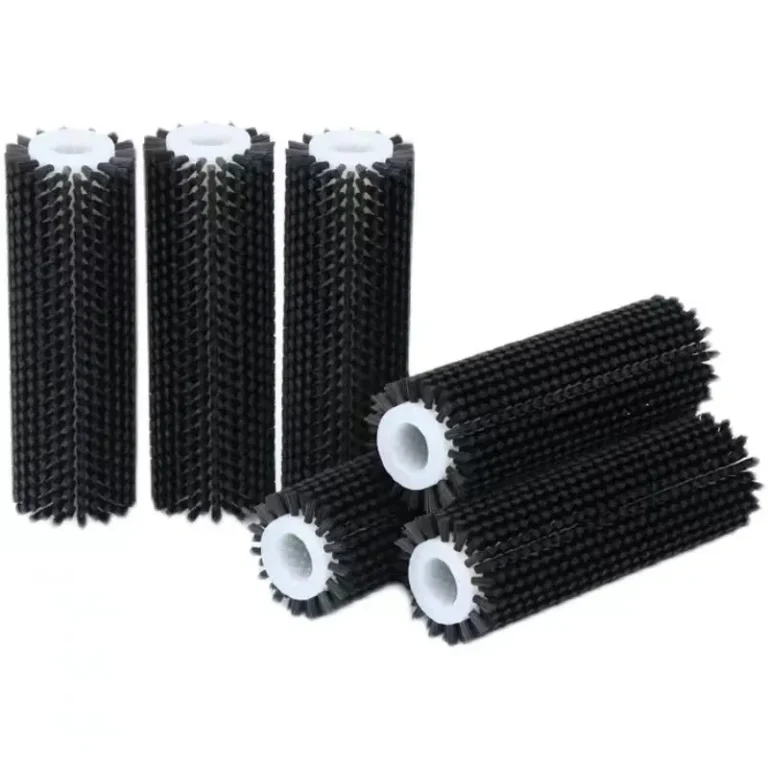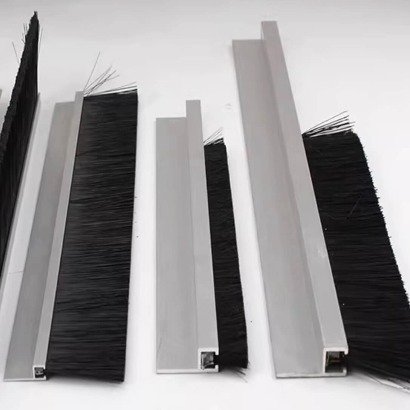
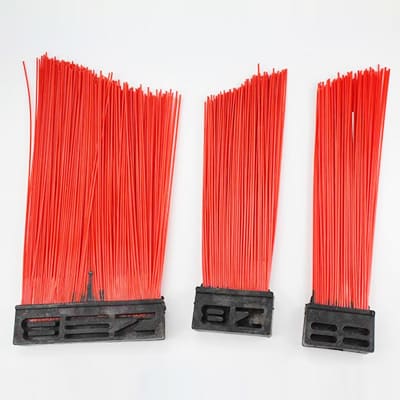
In the maintenance of sanitation equipment, the replacement of sweeper replacement brushes is a key task. Whether it is a disk brush, side sweeper brush or wafer sweeper brush, regular replacement not only ensures cleaning efficiency, but also extends the service life of the equipment. However, many operators are not familiar with the replacement process, resulting in improper installation or uneven brush wear.
This article will provide you with a detailed sweeper brush replacement guide, covering preparation, removal steps, installation tips and solutions to common problems, to help you efficiently complete the replacement of sanitation brushes and ensure that the equipment is always in the best working condition.
1. Why do you need to replace the sweeper replacement brush regularly?
Bristle wear: After long-term use, the bristles of the sweeper brush will become shorter and deformed, resulting in incomplete cleaning.
Structural deformation: The disk brush or wafer sweeper brush may be worn eccentrically, affecting the rotation balance.
Equipment loss: Severely worn brushes will increase the motor load, causing equipment overheating or damage.
2. Preparation before replacing the sweeper replacement brush
2.1 Tool and material list
New sweeper replacement brush (make sure the model matches)
Wrench, screwdriver, hexagonal tool
Lubricant (such as silicone grease for bearing maintenance)
Gloves and safety goggles
2.2 Safety inspection
Power off/shutdown: Make sure the sweeping equipment is completely stopped.
Clean up the work area: Remove debris around the brush to avoid foreign objects getting stuck during installation.
3. Step-by-step guide: How do I remove the old sweeper brush?
3.1 Removing the side sweeper brush
Loosen the fixing bolts: Use a wrench to remove the screws of the side brush bracket.
Remove the old brush: Gently pull out the brush shaft, taking care not to damage the connecting parts.
Inspect the bearings: Clean or replace if rust or wear is found.
3.2 Removing the disk brush
Remove the protective cover: Some models require the outer cover to be removed first.
Loosen the center locking nut: Use a special tool to remove it by turning it counterclockwise.
Remove the old disk brush: If the brush is stuck, tap the axis to assist in removal.
3.3 Removing the wafer sweeper brush
Remove the buckle: Some wafer brushes are designed to be quick-release, and can be released by pressing the buckle.
Clean the residue: Check whether the brush holder is dusty or damaged.
4. How to correctly install the new sweeper replacement brush?
4.1 Install the side sweeper brush
Align the shaft hole: Make sure the shaft of the new brush matches the device interface.
Fixing bolts: Tighten gradually in diagonal order to avoid uneven force.
Test rotation: Turn the brush manually to confirm that there is no jamming.
4.2 Install the disk brush
Apply lubricant: Add a small amount of silicone grease to the bearing to reduce friction.
Tighten the center nut: Use a torque wrench to tighten according to the manufacturer’s recommended force (usually 50-80N·m).
Adjust the direction of the bristles: Make sure the bristles of the disk brush are distributed radially to optimize the cleaning effect.
4.3 Install the wafer sweeper brush
Align the slot: Push the wafer brush into the track until you hear a “click” locking sound.
Check the fit: Make sure the brush is parallel to the ground to avoid eccentric wear.
5. Common problems and solutions
5.1 Loud noise after installing the new brush
Possible cause: The bearing is not lubricated or the brush is not balanced.
Solution: Add lubricant and recalibrate the installation position.
5.2 Premature wear of the bristles
Possible cause: There are sharp debris on the ground or the brush material does not match.
Solution: Replace the sweeper replacement brush with a more wear-resistant material, such as a wire hybrid brush.
5.3 Equipment error or shutdown
Possible cause: Improper brush installation triggers the sensor alarm.
Solution: Refer to the equipment manual to reset the error code and reinstall the brush.
Conclusion: Master the sweeper replacement brush replacement skills to make cleaning more efficient
Regular replacement of sweeper brushes is the key to keeping sanitation equipment running efficiently. Whether it’s a disk brush, side sweeper brush or wafer sweeper brush, proper removal and installation can significantly improve cleaning results and reduce maintenance costs.
Act now: Check your cleaning equipment and replace worn brushes according to this guide to get more done with less effort!