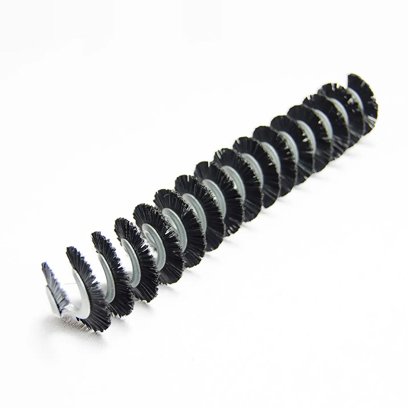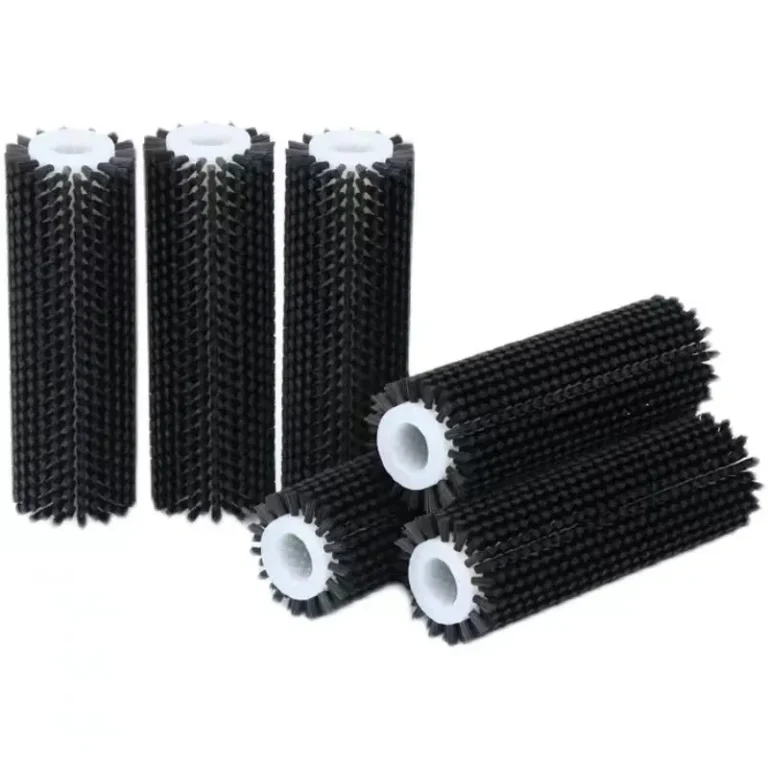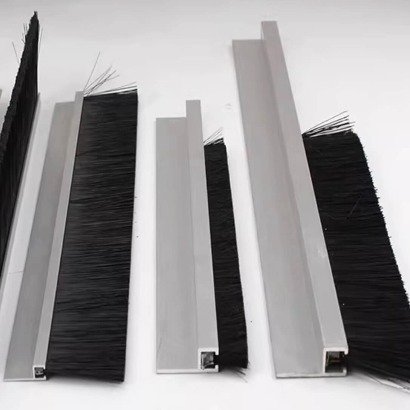
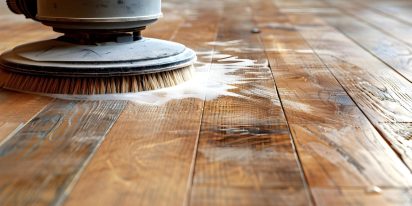
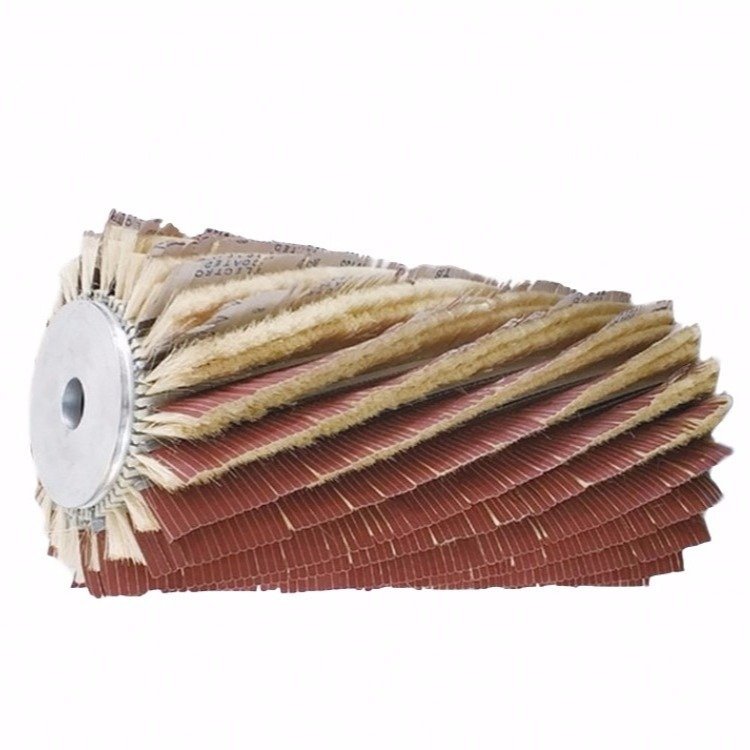
A wood polishing brush can really help with a new project. People may pick a cylinder polishing brush for big surfaces. They may use a sisal sandpaper brush roller for hard finishes. Each brush type gives different results. Choosing the right brush helps make the wood look smooth and neat.
Key Takeaways
-
Picking the correct wood polishing brush makes the finish look better. Use natural bristles with oil-based finishes. Use synthetic bristles with water-based finishes.
-
Think about the size of your project when you pick a brush. Small jobs need brushes that are easy to control. Rollers work best for big areas.
-
Take care of your brushes to help them work well. Clean your brushes after you use them. Store them the right way to make them last longer.
Why Brush Selection Matters
Finish Quality and Smoothness
A good wood polishing brush changes how wood looks and feels. The right brush spreads the finish evenly. This keeps the surface smooth and stops marks from showing. Many people pick natural bristle brushes for oil-based finishes. These brushes hold more product and move easily on wood. Synthetic brushes are better for water-based finishes. They keep their shape and do not get floppy. Fast-drying finishes need fine-haired brushes. These brushes let you make long strokes without streaks.
-
The right brush makes the finish smooth and free of marks.
-
Different brushes work best for different jobs and looks.
-
Clean brushes last longer and work better.
-
Fine-bristle brushes are good for edges and corners.
-
Always read the manufacturer’s instructions for the best results.
Determining the Final Surface Texture
Many people mistakenly believe that polishing is simply about vigorous rubbing, but this is not the case. Using the wrong brush in the final stage can leave fine scratches and swirl marks, resulting in uneven shine. Soft bristles (such as horsehair or soft nylon) designed for fine polishing gently handle polishing compound, producing a deep, consistent shine without damaging the surface.
Matching Project Size for Efficiency
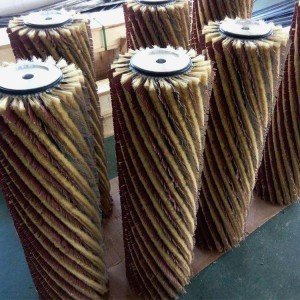
Project size should directly guide tool selection. Using a small hand brush on a large surface is not only time-consuming but also prone to uneven polishing. For large flat surfaces, large polishing wheels or cylindrical polishing brushes mounted on an angle grinder or drill are highly efficient. In industrial polishing, these efficient tools are standard equipment. Conversely, when dealing with complex carvings or edges, small detail brushes are indispensable, precisely reaching every groove.
In-Depth Analysis of Polishing Brush Types and Characteristics
Natural Brushes vs. Synthetic Brushes
Natural Brushes (such as horsehair roller brush): They are the “artists” of polishing. Known for its unparalleled softness and flexibility, natural bristles are ideal for applying wood wax and achieving a mirror finish, especially suitable for delicate cork.
Synthetic brushes (such as nylon wire brush): These are the “doers” of polishing. More durable, more consistent, and stiffer. For example, abrasive-infused nylon brushes cleverly combine sanding and polishing steps, effectively removing old paint or smoothing minor imperfections.
Features Comparison Overview
|
Characteristics |
Natural Hair Brush |
Synthetic Hair Brush |
|
Softness |
Extremely high, suitable for final polishing |
Diverse, but generally stiff |
|
Main Uses |
Waxing, final high-gloss polishing |
Cleaning, preparation, sanding and polishing |
|
Durability |
Good, but susceptible to moisture |
Excellent, water and chemical resistant |
|
Finished Finish |
Superior high-gloss, scratch-free surface |
Good, can range from matte to high gloss |
Following the Polishing Process: The Wisdom of From Coarse to Fine
-
Cleanup and Preparation Stage: Use a stiff synthetic hair brush or sisal brush to remove surface dust and old paint.
-
Sanding and Initial Polishing Stage: Abrasive nylon brushes excel at this stage, simultaneously sanding and achieving initial shine.
Fine and Final Polishing Stage: Switch to a soft horsehair brush for the final touch to create a mirror-like finish.
Key Design: Shape and Density
-
Shape: Bowl brushes and wheel brushes are suitable for power tools; pointed brushes are designed for handling edges and crevices.
-
Density: The denser and finer the bristles, the higher the polishing precision achievable.
-
Professional Advice: Adhere to the golden rule of “from coarse to fine.” Start with the most aggressive brush and finish with the softest.
How to Choose the Best Polishing Brush for Your Project
Practical Selection Checklist
Use this checklist to make brush selection easier:
-
Wood Hardness: Softwoods require soft brushes to prevent scratches; hardwoods can withstand harder brushes for initial treatment.
-
Surface Condition: Rough surfaces require abrasive brushes; smooth surfaces require soft brushes when preparing for waxing.
-
Desired Gloss: The final gloss largely depends on the soft finishing brush used.
-
Project Size and Detail: Large flat surfaces require motorized brush wheels; small items or intricate details require small hand brushes.
-
Frequency of Use: If used frequently, investing in high-quality brushes is more cost-effective in the long run.
Selection Checklist
Picking the right wood polishing brush makes painting easier. Many people do not know which brush to use. A checklist can help you decide:
-
Wood Type: Hardwoods like oak or maple need strong brushes. Sometimes you need aluminium oxide sandpaper for these. Soft woods need gentle bristles so they do not scratch.
-
Wood Density and Grain: Dense woods work best with firm bristles. Woods with open grain need soft brushes for even coverage.
-
Intended Use: Think about what you are making. Is it a floor, furniture, or trim? Each job may need a different brush.
-
Finish Type: The best brush depends on the finish. Oil-based finishes go well with natural bristles. Water-based finishes work with synthetic bristles.
-
Project Size: Large areas need floor applicators or microfibre rollers. Small details need brushes that are very precise.
-
Frequency of Use: If you use brushes often, buy a good quality paint brush. It will last longer and feel better to use.
Tip: Always match your brush to the wood and finish. This helps you avoid brush marks and gives a smooth look.
Maintenance and Practical Tips
Proper maintenance will keep your wood polishing brushes looking new for longer:
-
Cleaning: Clean immediately after use. For brushes contaminated with polishing compound, rinse thoroughly with the recommended solvent or warm soapy water.
-
Drying and Storage: Shake off excess water and air dry. Lay the brush flat or hang it to prevent bristle deformation.
-
Inspection and Replacement: Regularly inspect the bristles. Replace immediately if severe wear or bristle loss is observed to ensure polishing quality.
-
Safety Precautions: Safety first when handling any polishing tool:
Always wear safety goggles and a dust mask to prevent injury from debris and dust.
When using power tools, ensure the workpiece is securely fastened to prevent accidents.
Picking the right wood polishing brush really matters. You need to choose the right brush type and bristle material. Make sure they fit the finish and how you will use them. People see better results when they do these things:
-
Choose the right tool for each product.
-
Use brushes that feel good in your hand.
-
Pick bristles that work well for the job.
When you pick well, your wood looks smooth and neat every time.
FAQ
What brush works best for water-based finishes?
Synthetic bristle brushes suit water-based finishes. They keep their shape and clean easily. Many people find them simple to use.
Can one brush work for all wood types?
A single brush rarely fits every job. He should match bristle type to wood hardness. Soft bristles suit gentle woods. Firm bristles suit tough woods.
How to choose the right polishing brush?
Consider the wood’s hardness and surface condition. Soft woods require soft bristles (e.g., horsehair brushes), while hardwoods can handle harder brushes for initial polishing. Use abrasive brushes for rough surfaces and soft brushes for smooth surfaces, waxing, or fine polishing.
How to extend the lifespan of a polishing brush?
Clean the brush immediately after use with warm soapy water or a solvent, and rinse thoroughly. Allow the brush to air dry and store in a dry place. Regularly inspect the bristles, and replace the brush if there is excessive wear or shedding.